i posed the dilemma to my astroimaging group:
veteran eclipse chaser Dave Kodama got a puzzled look on his face and simply said, "if there's no picture, it didn't happen".
though far from a proponent of organization for organization's sake, i realized this was going to take some preparation.
There are many accounts of photographers missing the total eclipse by forgetting to take solar filters off, or forgetting to replace the filter, leading to fried equipment. Mindful of this i ran two complete dry runs of the imaging session from my imaging location at the same time of day.
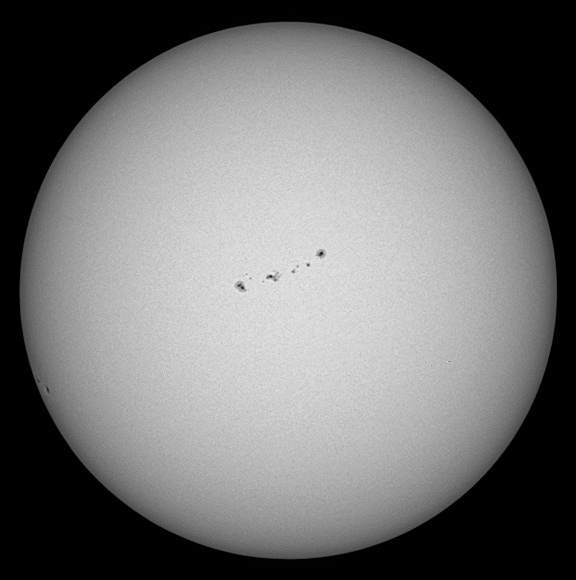
Here's an animation of one of the sessions. note the slight rotation of the sunspots across the solar surface even over the course of a few hours:
 |
| Sun 8/18/2017 |
 |
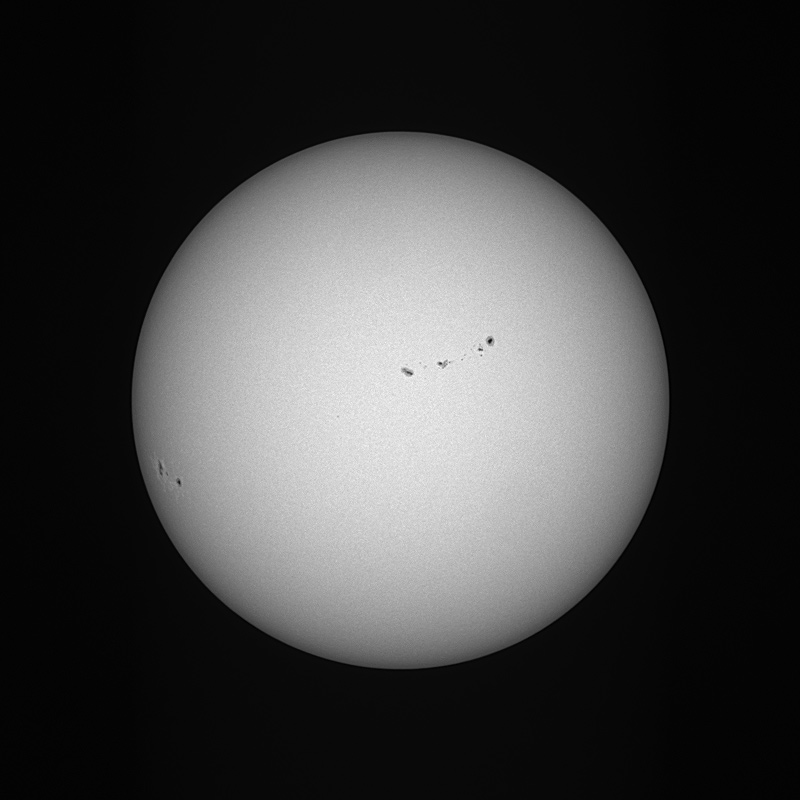
| Sun 8/20/17 |
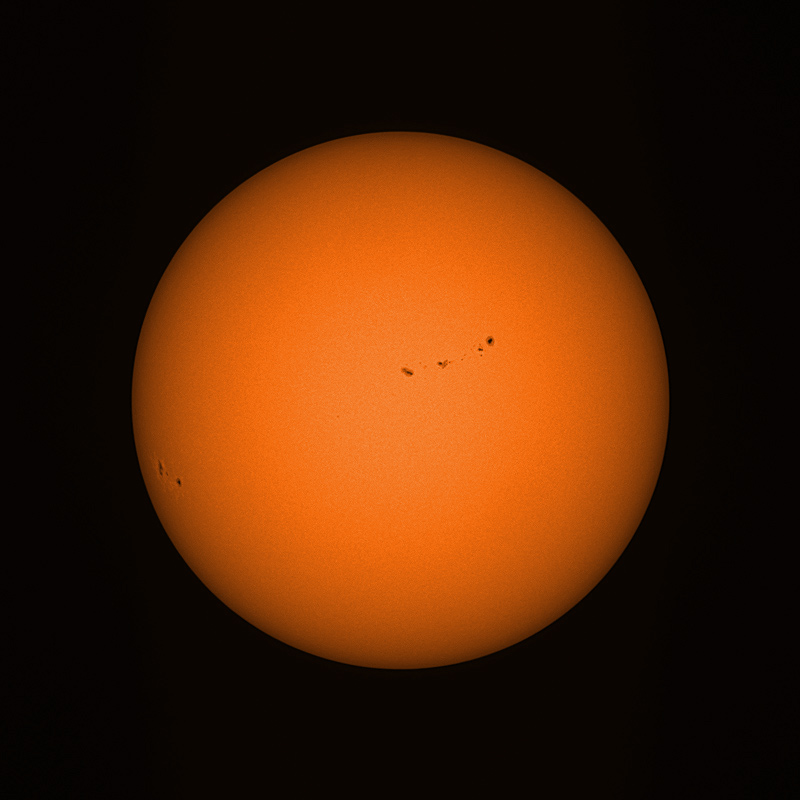
ironically, my best full disk white light image of the sun was taken on 8/21/17, only to be overshadowed by eclipse images :)
 |
| Sun 8/21/2017 |
note two separate sunspot groupings and well defined surface granulation.
colorized:
colorized:
IMAGING TECHNIQUES:
in an excellent ebook on photographing the eclipse, Alan Dyer gave a
comprehensive list of imaging techniques ordered by level of
complexity. my approach (webcam, laptop, close up telescope,
tracking mount) seemed to be over the top, making preparation a must.
Starting in January i began working out an imaging rig, field of view, and processing techniques for the sun and moon in white light.
next i tested filters, finally concluding that green + an IR/UV block gave the best detail on sunspots and surface granulation. however, at the 11th hour i decided to dispense with the green filter in order to minimize the fiddle factor, as imaging totality with a green filter would block the red light of the solar prominences and switching would complicate the process.
Then to the mount. after numerous tests with a simple manual alt-azm mount were moderately successful, Alan Smallbone gave a mount review, and talked some sense into me. so i switched to a simple polar aligned single axis tracking mount. streamlining the imaging process.
| single axis tracking mount, mylar laptop cover bottom |
focus during solar imaging has always been
problematic for me. the problem is that bright sunlight makes
it almost impossible to view the image on a reflective laptop
screen. i'd typically bake with my head and laptop under a
blanket while trying to focus, reaching blindly for the focus
knob. 2 solutions:
-a laptop "tent" or lapdome complete with a shade to block light reflecting up from the ground (also wear a dark shirt)
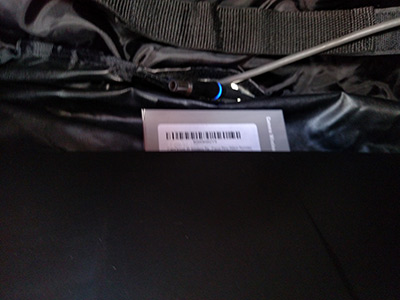
-a mylar drop cloth. most mylar "space blankets"
are too thin to block all the light. i found a thicker version that did the trick, light weight, easy to pack. placing the blanket over my head and laptop blocked out stray light, and reflected radiant energy keeping
things cooler.
tuned laptop: new battery so it would last thru the eclipse and "custom water cooling" to keep it from overheating during a long imaging session in hot weather.
filter box elevating laptop, improving airflow:
 custom water cooling:
condensing unit:
laptop ran cooler like this in hot weather than it did in an air conditioned airport sitting flat on a table.
Image details:
DMK 51 web cam, Takahashi FS-60C, 60 mm aperture at f/4.2 with a reducer. Skywatcher star adventurer tracking mount. Baader solar film, Fotga IR/UV cut filter. The full field of view is approximately 96x72 arc minutes with a resolution of 3.6"/px. video capture at 12 fps, aligned in autostakkert, wavelets in registax.
-cell phone Droid Turbo ;)
Casper Wyoming
42,50.9694N 106,15.5688W
8/18,20,21/2017
-a laptop "tent" or lapdome complete with a shade to block light reflecting up from the ground (also wear a dark shirt)
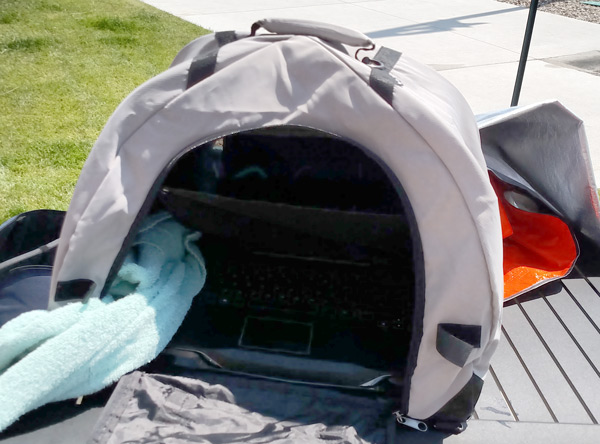 |
| Lapdome, note shade between keyboard and screen blocking reflected light from the ground, secondary mylar cover in background |
tuned laptop: new battery so it would last thru the eclipse and "custom water cooling" to keep it from overheating during a long imaging session in hot weather.
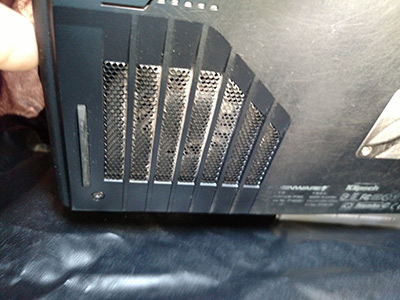 |
| Laptop intake fan, bottom of laptop |
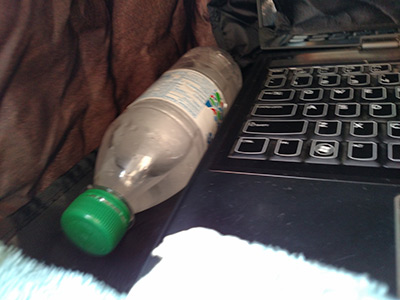 |
| frozen water bottle |
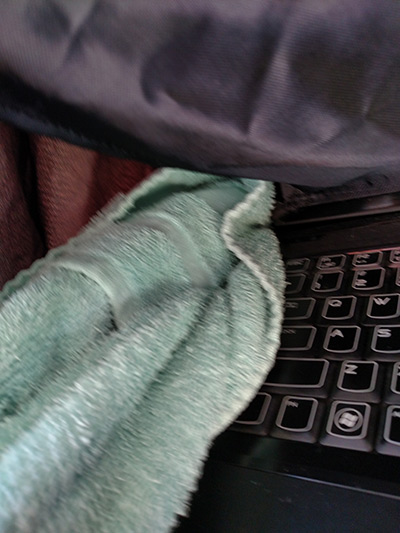 |
| towel containing condensation |
laptop ran cooler like this in hot weather than it did in an air conditioned airport sitting flat on a table.
Image details:
DMK 51 web cam, Takahashi FS-60C, 60 mm aperture at f/4.2 with a reducer. Skywatcher star adventurer tracking mount. Baader solar film, Fotga IR/UV cut filter. The full field of view is approximately 96x72 arc minutes with a resolution of 3.6"/px. video capture at 12 fps, aligned in autostakkert, wavelets in registax.
-cell phone Droid Turbo ;)
Casper Wyoming
42,50.9694N 106,15.5688W
8/18,20,21/2017
No comments:
Post a Comment