Try increasing gamma if dark sections aren't distinguished

Try increasing gamma if dark sections aren't distinguished

Sunday, January 28, 2018

Copernicus infra red

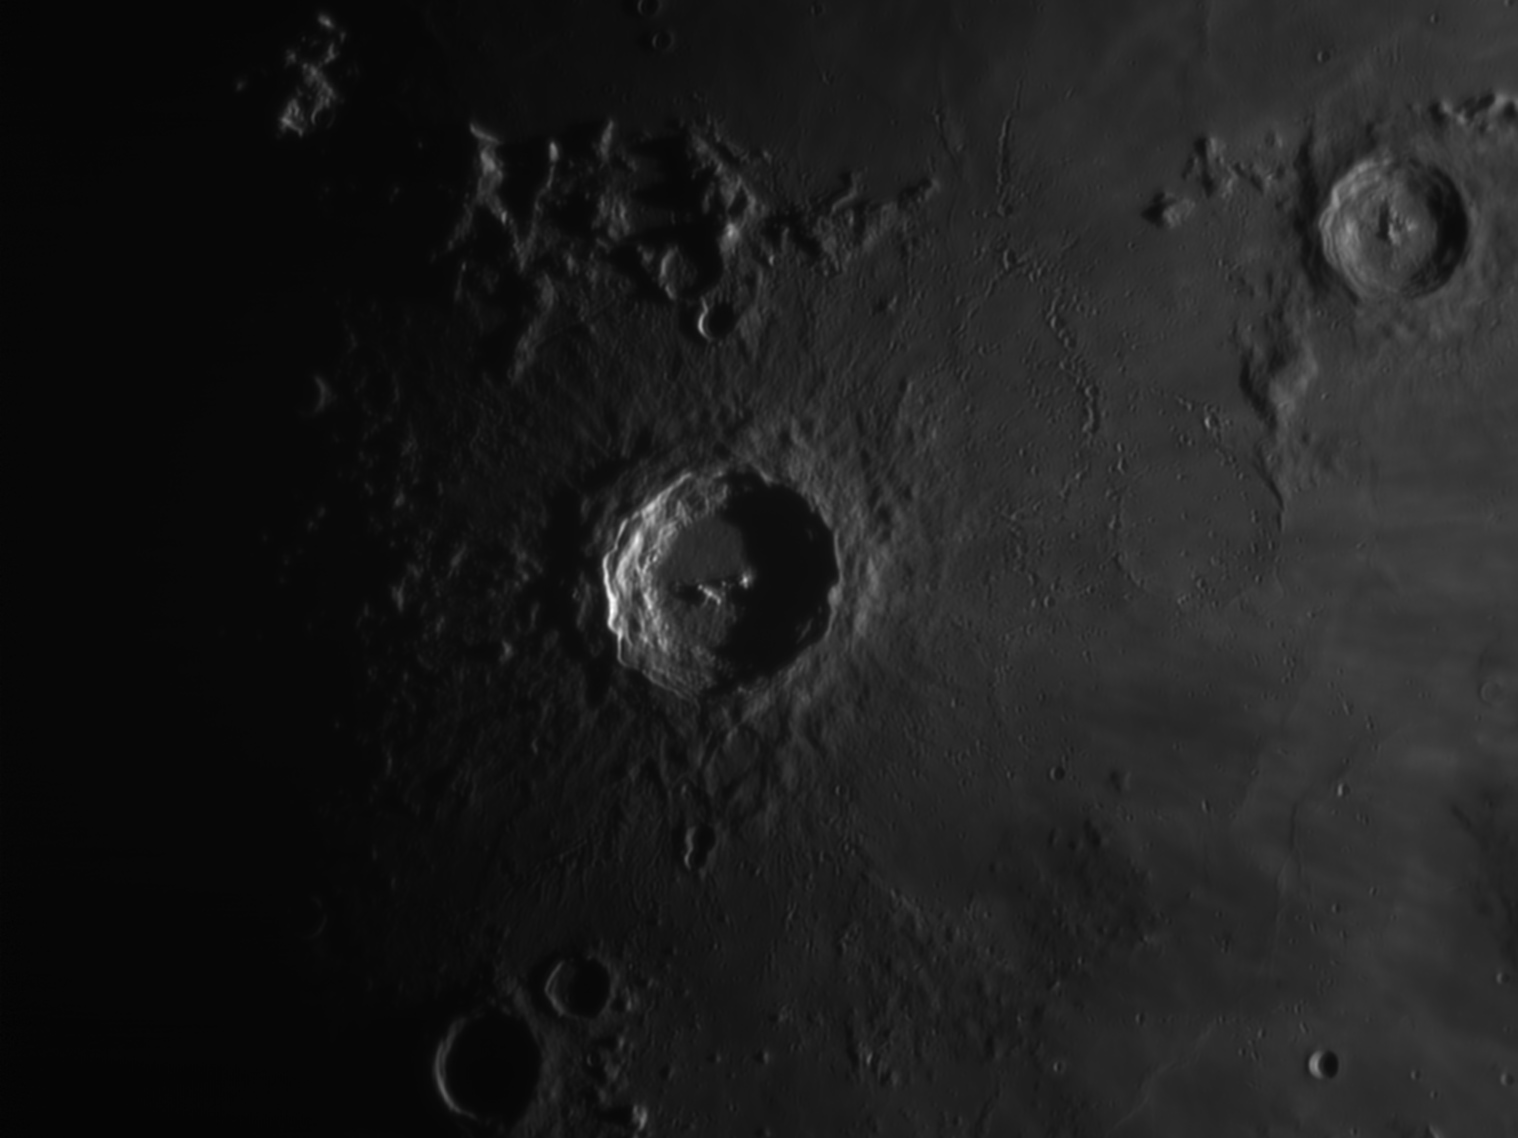
Here's a close up shot of copernicus, one of the most photogenic craters on the moon with its terraced walls and central peaks: 
Copernicus 9/10/16 infra red filter
click for moon-walk size


it's easily visible to the naked eye here:
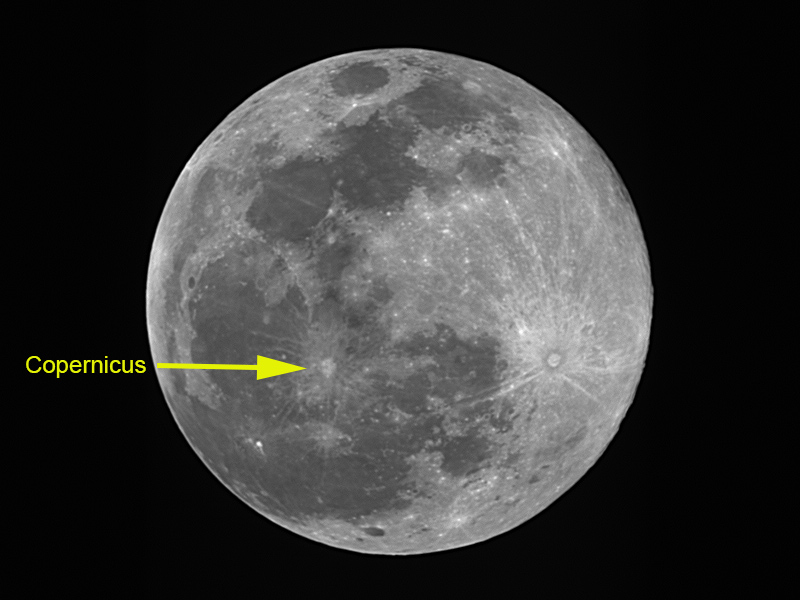
7/8/17 IR/UV block filter


Interestingly, the crater was named by a jesuit at a time when church doctrine opposed the heliocentric model.  The crafty jesuit justified naming such a prominent crater after the father of the heliocentric model by noting that the astronomer was placed in oceanus procellarum, the "ocean of storms". wikipedia link with more information about the crater

The image of the crater was taken with an infra red filter and a telescope that is "mostly" a reflector (mirrors).  it was a test shot which proved that the IR filter was sharper than standard visible filters.  more on that in this post on jupiter.  
Interestingly, the full disk image was taken with a filter that blocks infra red.  why? it was taken with a refractor.  refractors use lenses to bend light.  since infrared light bends less than visible light (the same phenomenon that made it desirable in the previous image), it doesn't focus well in refractors, creating a blurry image.  


Technical notes:
Copernicus: celestron nexstar 8 GPS (8" SCT on a wedge)
ZWO ASI120MM-S
captures with firecapture @ ~58 fps
stacked in autostakkert, Drizzle 3x, then reduced to 1.5x, sharpened in registax 6
9/10/2016
Full disk: DMK 51 and the tiny tak, Takahashi FS-60C, 60 mm aperture at f/4.2 with a reducer.  The field of view is approximately 96x72 arc minutes.  1 minute video capture at approximately 12 fps, aligned in autostakkert, wavelets in registax.
7/8/2017
Eastbluff, CA
Sunday, January 14, 2018

Sunday Sundogs and a pillar

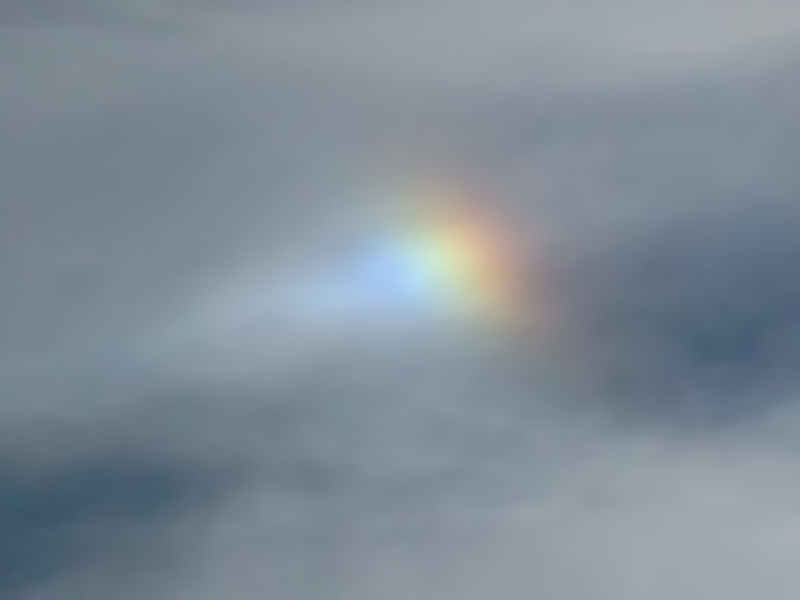
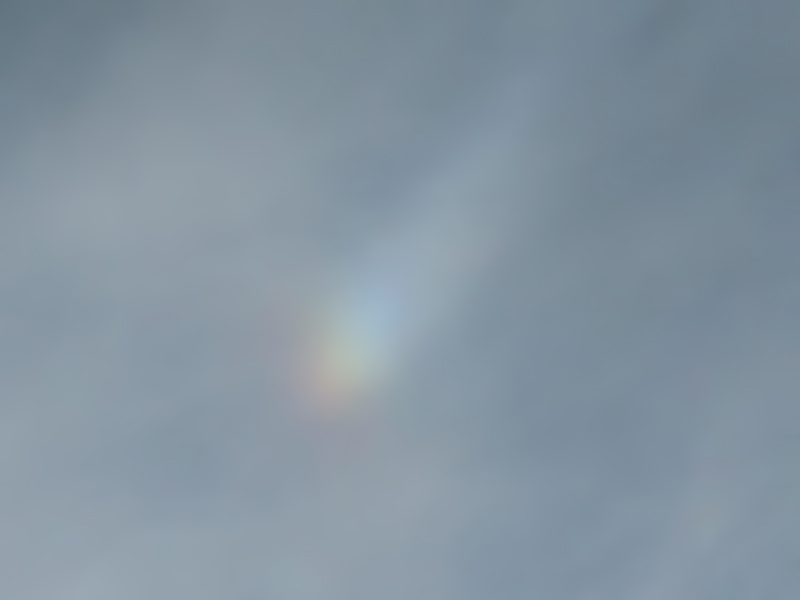
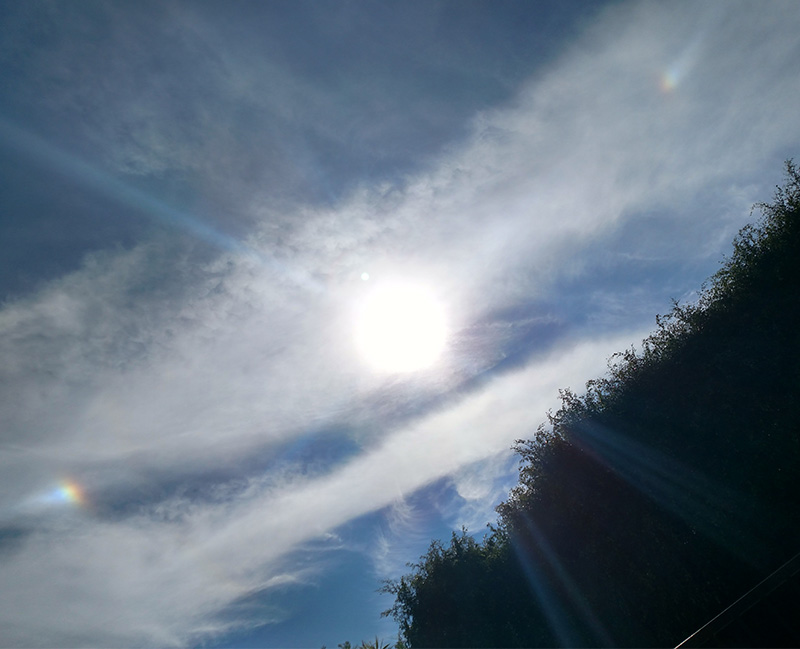
saw a pair of Sundogs while running in the back bay today.  pointed them out to everyone i passed.  most thought i was crazy, but one couple shouted a "thank you" after they found it.


Sundogs 1/14/18


Sundogs are caused by light refracting off hexagonal ice crystals.  if they are random a halo is formed, if they are horizontal, two spots are seen on either side.  Here's a nice explanation.  

Here's a phenomenal example of a double solar halo with sunddogs taken from a ski slope in sweden:

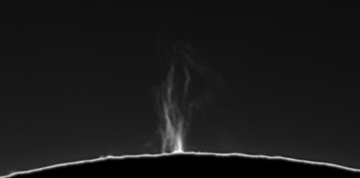
speaking of solar images, here's an Ha image of a "straight pillar"--a form of solar prominence:


Image details:
sundogs:
cellphone Droid turbo
Eastbluff, CA 1/14/18
Ha:
Lunt 60 PT 
ASI 290 MM camera
20 second video 183 fps
Shutter=5.0 ms
Eastbluff, CA 1/4/18

Sunday, December 31, 2017

2017 eclipse experiance

Then totality.
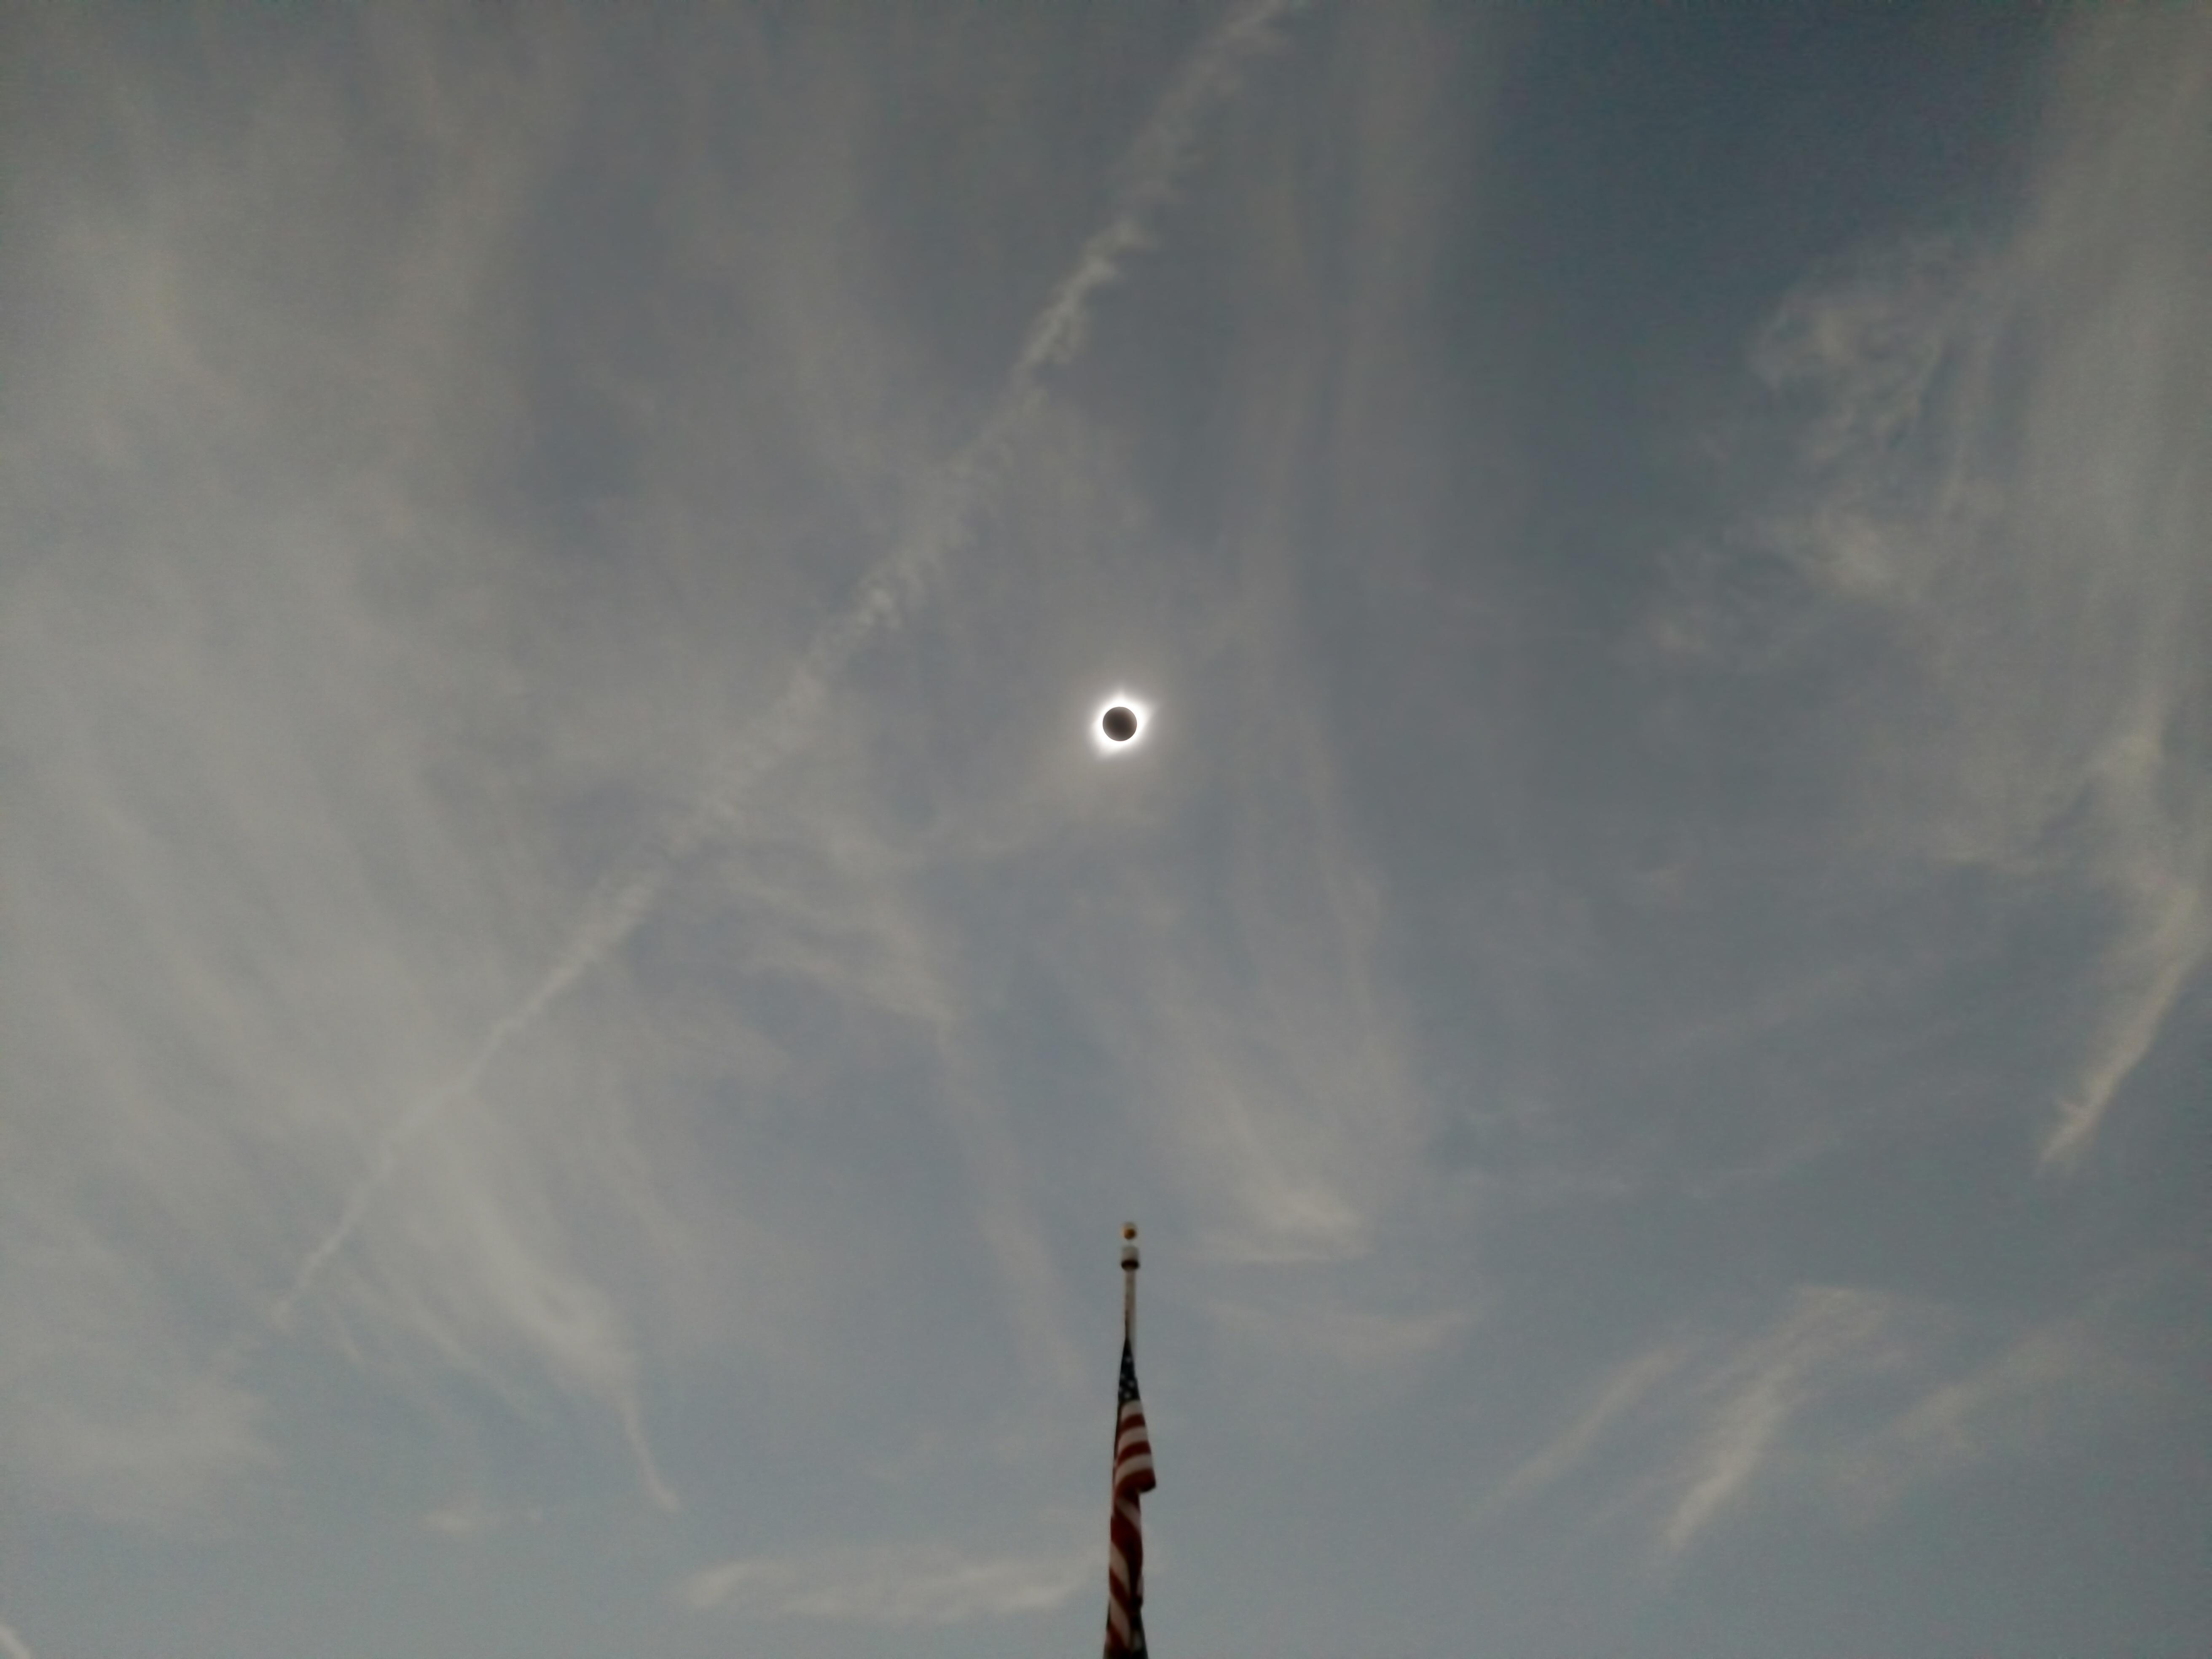
the sky darkened, but was still visibly blue
i viewed the eclipse through light cloud cover
perhaps making this experience a bit different, with less darkening of the sky.

i elected to watch the first diamond ring looking down at my laptop to protect dark adaptation.  while looking down i noticed shadowbands sweeping along the sidewalk then,

OH MY GOD, THERE IS A HUGE BLACK HOLE IN THE SKY WITH A HALO OF LIGHT AROUND IT


i picked up my canon 15x50 image stabilized binoculars to get a closer look at the corona.  after a second of viewing i thought something like "why do i have a piece of glass between me and a direct view of god?" and put the binoculars down...an alarm reminded me when it was time to get back to imaging

it wasn't the darkness of the sky that overwhelmed, but rather the black hole in the twilight sky which seems to lead to another universe/reality... 
click on image for full size


another alarm goes off and i look up to catch the final diamond ring.  a pinpoint of light appears at the right edge of the black hole in the sky, brightening steadily until it is too brilliant to look at. 

last alarm, filters back on.


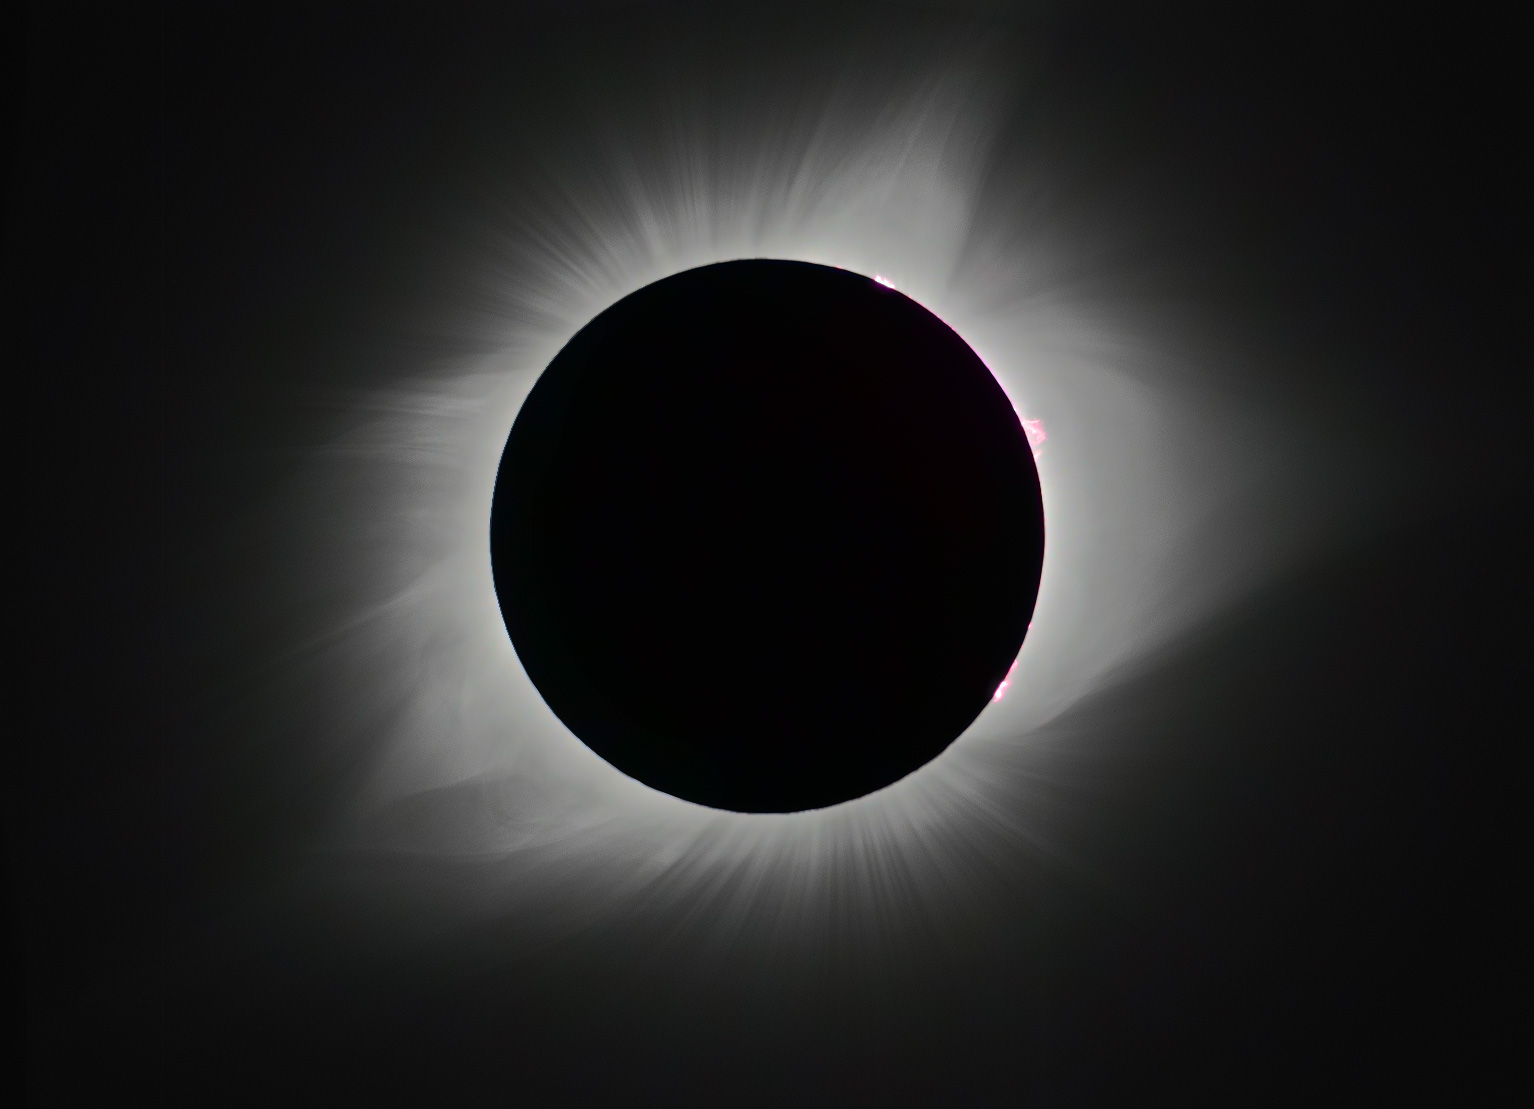
The image above is a remarkably accurate portrayal of the visual experience (to my eye).  the main shortcoming is that it's difficult to portray the scale of the event.  try to envision the black circle in the image at the size of a full moon rising, dominating the horizon.  interestingly, it was the combination of two mediocre images (both shown in previous posts): an over exposed cell phone shot and an out of focus telephoto image with my DSLR.  having succeeded in combining a color image with my telescopic view, i tried combining these two on a lark.  after two minutes of aligning the spikes of the corona in the two images, i adjusted the opacity and my jaw dropped, bingo.  

while in casper for the eclipse, i attended a talk by archeoastronomer J. McKim Malville at the astronomical league conference.  He has studied a number of stonehenge-like sites, one of which featured a petroglyph (stone carving) of what appeared to be a total solar eclipse with a coronal ejection mass.  After seeing an eclipse, i can see what motivated these strucutres.  

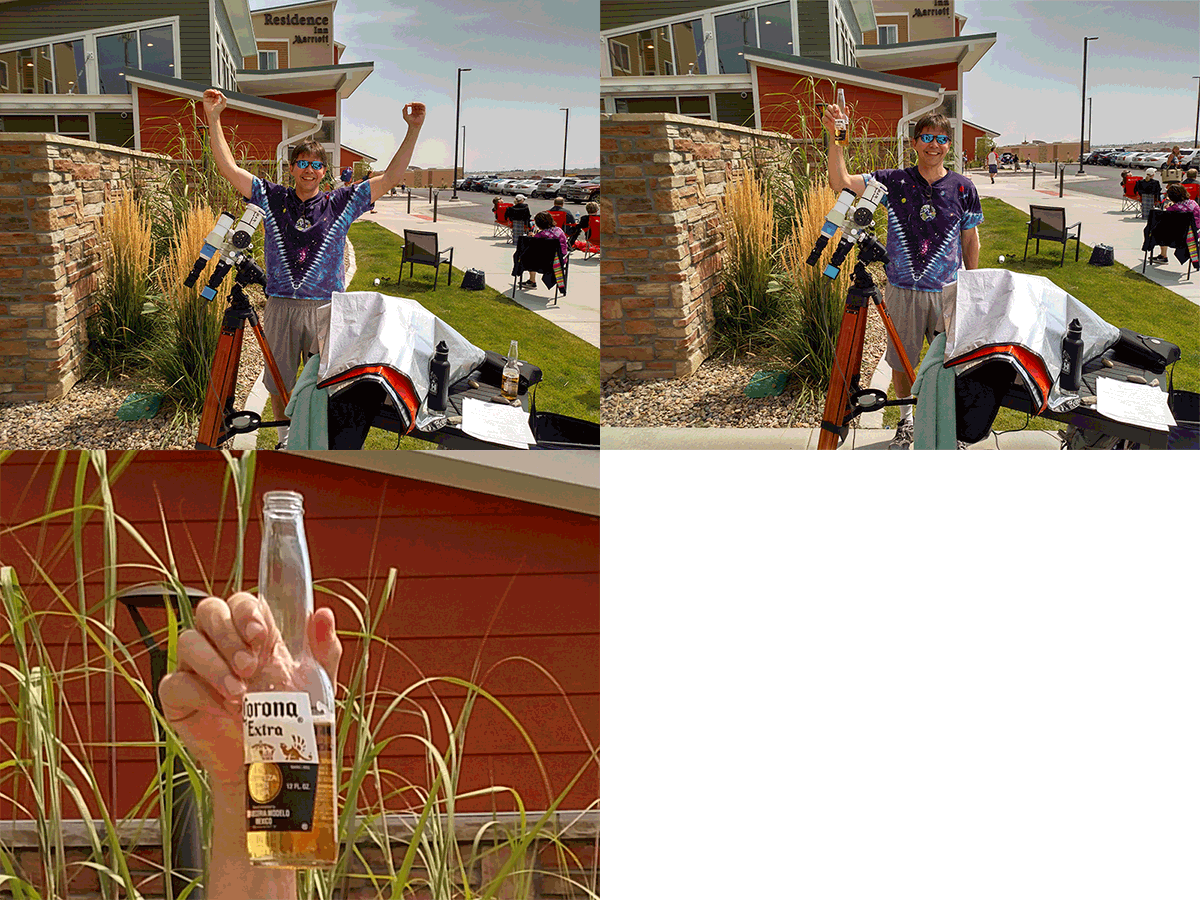
Lastly, thanks to Ellen Pothier for having the foresight to bring corona:

Otherwise,  there'd be a bud light joke here


Image details:
-sun and corona:
Nikon D-60, AF-S DX NIKKOR 55-300mm f/4.5-5.6G ED VR, f/5.6 300 mm 1/20" iso 400
Landscape:
-cell phone, Droid Turbo ;)
Casper Wyoming
42,50.9694N 106,15.5688W
8/21/2017

Sunday, December 10, 2017

2017 eclipse color composite

digression:
since the human visual system is more accurate for luminance (black and white) than color, one can combine a low resolution color image with a high resolution black and white image without any perceived loss of detail.  this phenomenon is often exploited in image printing, processing, recording, display etc.  wikipedia link.  

applying this concept to eclipse imaging, i had hoped to combine a lower resolution color digital camera image (DSLR) with a sharp black and white image from the telescopic video.  as mentioned previously, i blew the focus on my DSLR shot.  fortunately, my eclipse neighbor, James Pothier, sent me his DSLR image from the same location and time.  Jim and wife Ellen hail from Massachusetts.  7 for 7 eclipse viewers, they set up right next to me at the Residence inn, Casper, Wyoming.  I combined the color from his DSLR shot with my black and white image, aligning on the colored prominences and voila:


here's the color applied to my previous composite combining multiple exposures:
click for full size

for reference here's my DSLR shot with focus blown (many thanks to the Pothiers):


Image details:
-totality wider field:
Nikon D-60, AF-S DX NIKKOR 55-300mm f/4.5-5.6G ED VR, f/5.6 300 mm 1/20" iso 400
-Pothier image
Nikon D300, f/6.3 ISO 200 1/640 -1step exposure bias 380 mm.
-telescopic view:
DMK 51 web cam, Takahashi FS-60C, 60 mm aperture at f/4.2 with a reducer, 252mm. Skywatcher star adventurer tracking mount.  Fotga IR/UV cut filter.  The full field of view is approximately 96x72 arc minutes with a resolution of 3.6"/px.  video capture at 12 fps, aligned in autostakkert, wavelets in registax.
Casper Wyoming
42,50.9694N 106,15.5688W
8/21/2017

Sunday, December 3, 2017

2017 eclipse video and imaging techniques 2

so i had 2 minutes and twenty seconds to video the eclipse at various exposures (determining level on the fly), take DSLR shots for color, and of course a few cell phone shots, not to mention actually look at the eclipse, sky, stars, horizon and generally woop it up
while there were some flubs (like blowing focus for the color DSLR images), it was generally a successful outing.

before the video, here are a few more of the interesting still frames

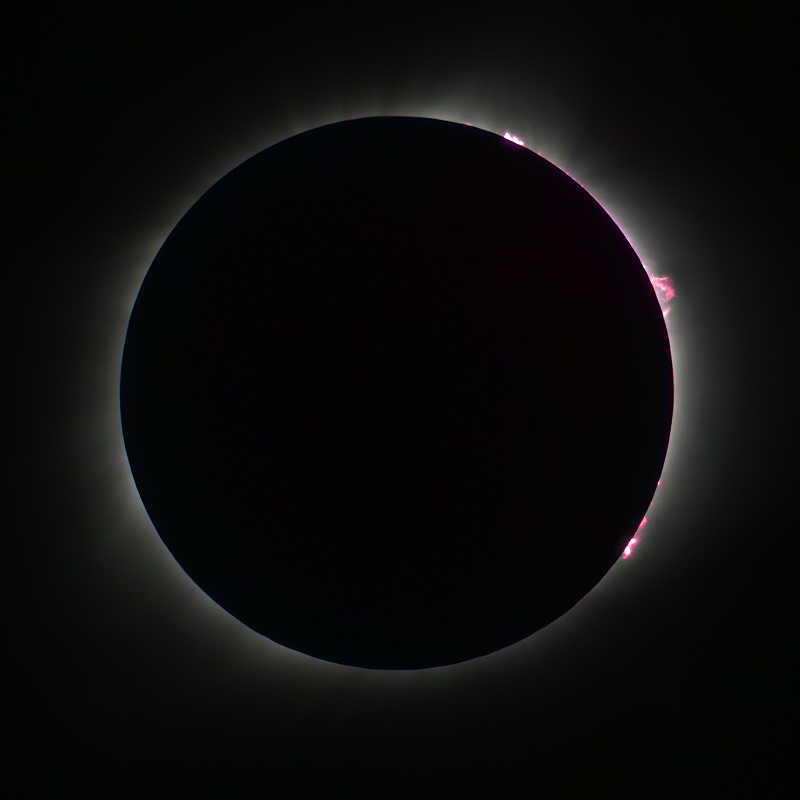
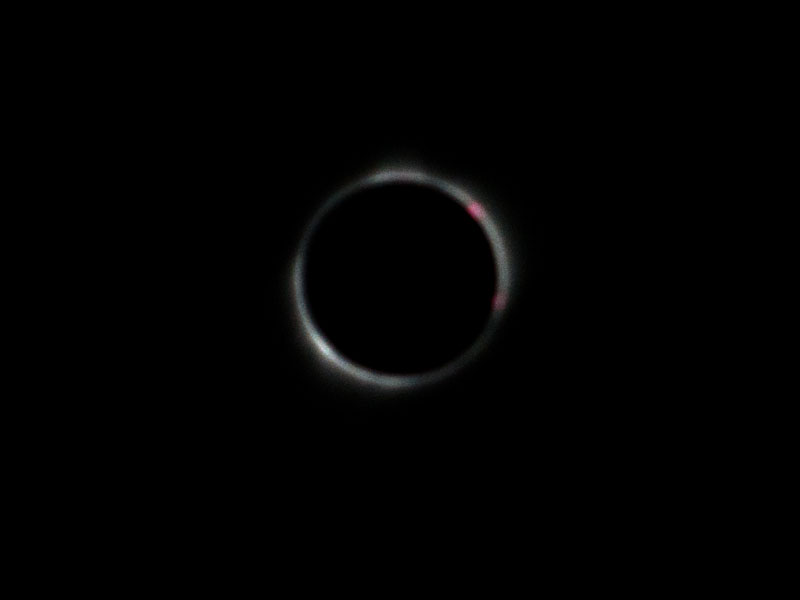
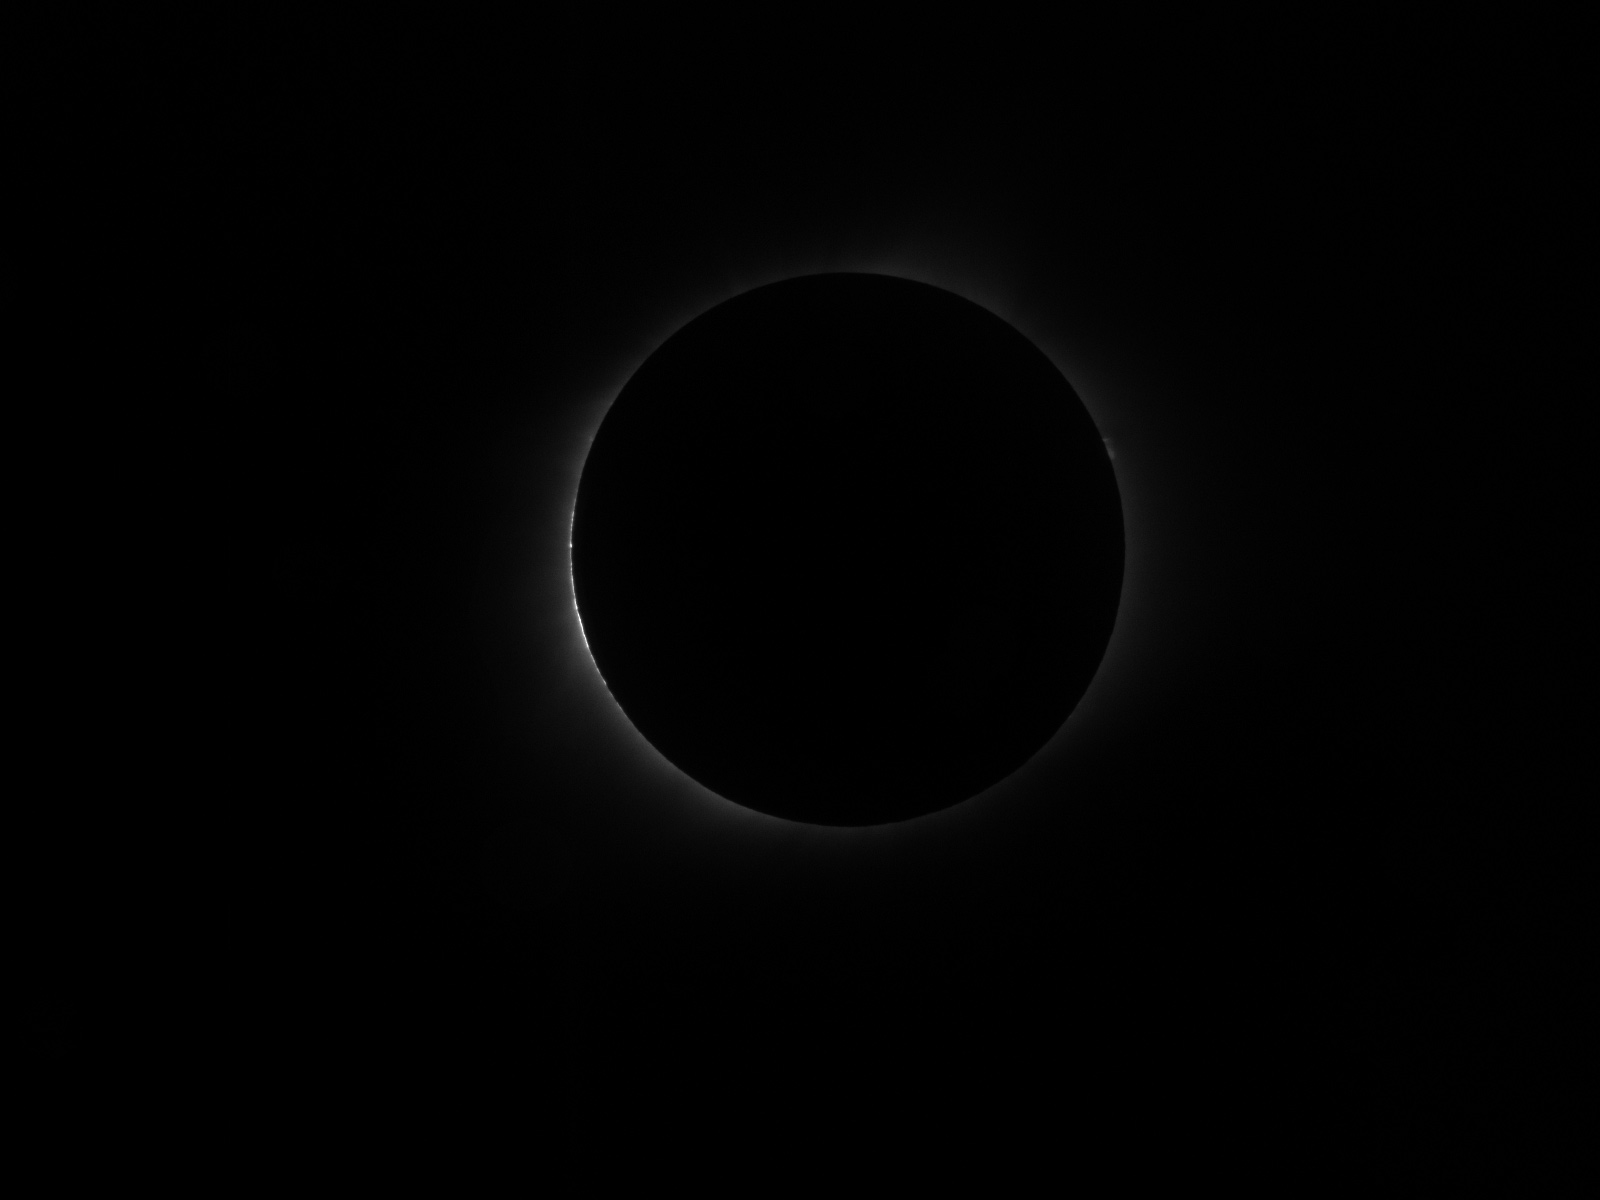
dark ring, with some lunar surface detail visible on the left edge (click on image for full size):

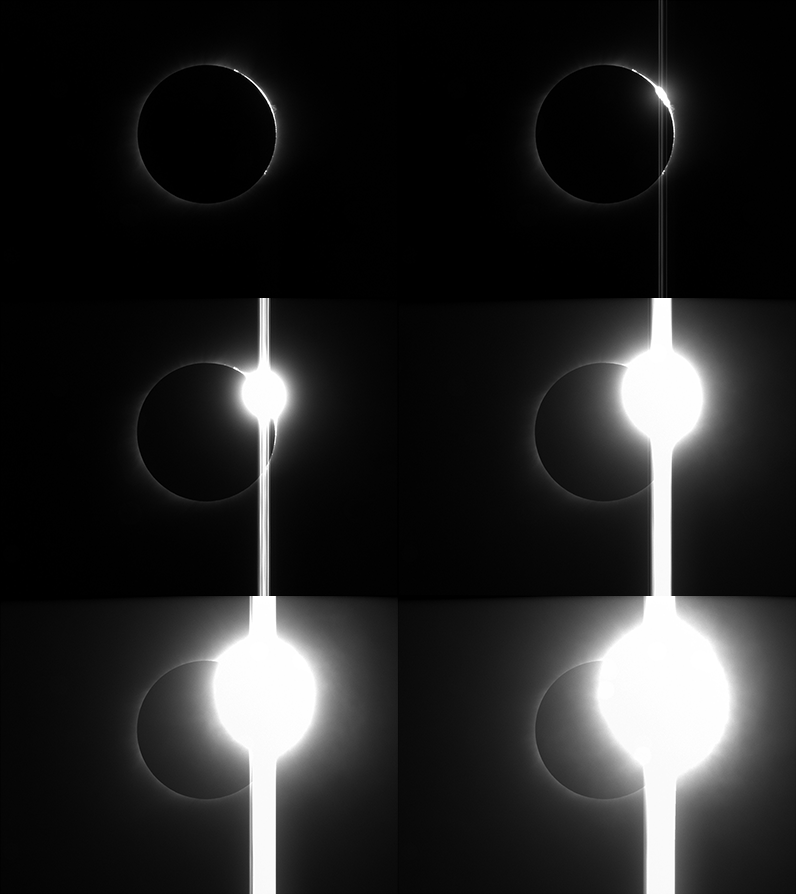
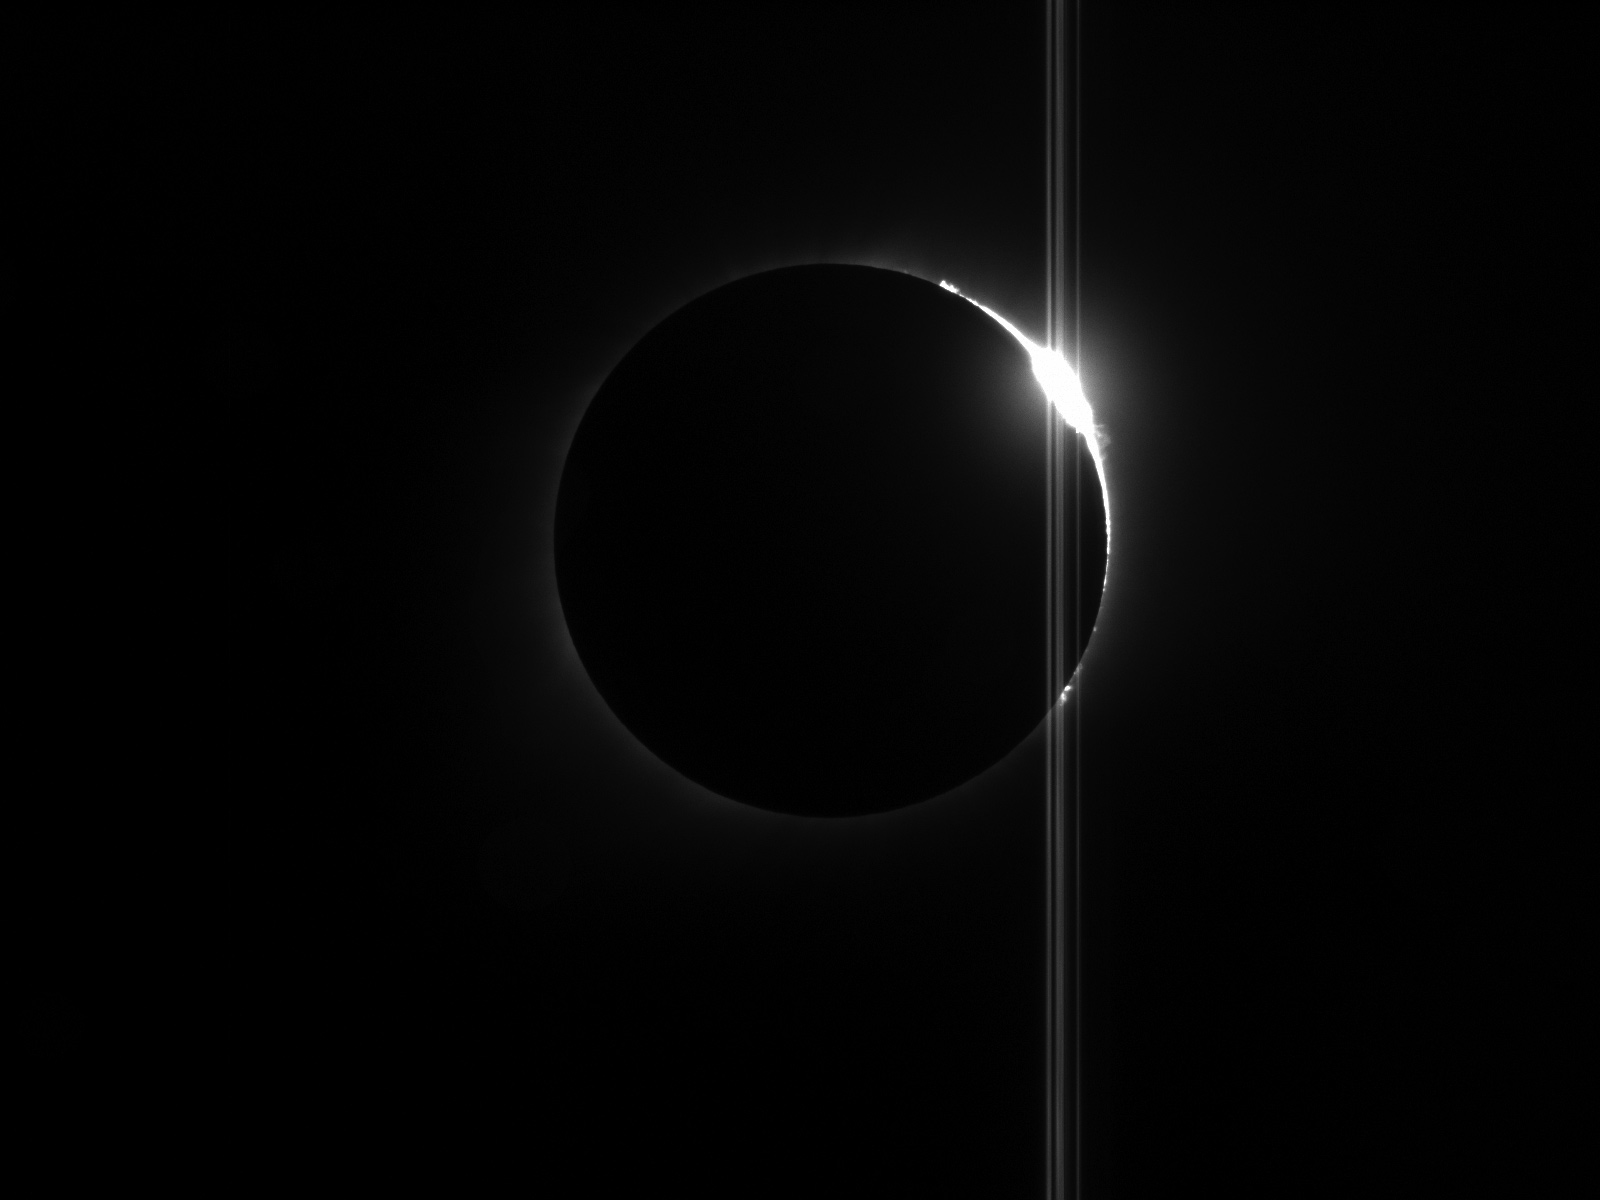
ending diamond ring with multiple blooms, prominences still visible (click on image for full size):


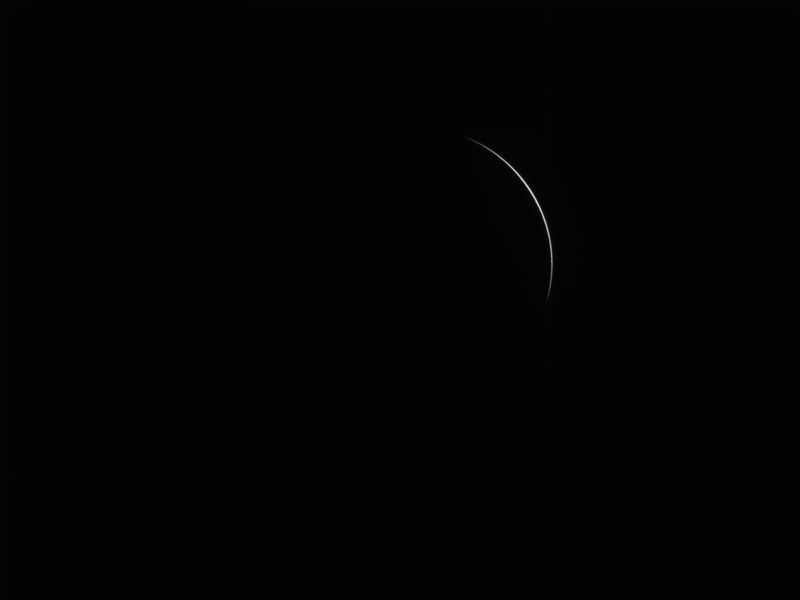
filter back on for crescent shot as the brilliant sunlight returns:

Here's the video of totality with time variably compressed from 3x for starting and ending diamond rings to 12x for longer images of the dark ring, and outer corona. what you'll see:
1. filtered left crescent of the sun
2. filter off 20 seconds before totality, brilliant light overwhelms the image and illuminates passing clouds :(
3. the light fades to the diamond ring, the vertical lines are due to the bright light overwhelming the digital camera, spilling signal into adjacent pixels
4. totality, the dark ring with the moon moving slowly from right to left, progressively covering the chromosphere on the left side while exposing more dramatic prominences on the right, arcing off the solar edge.
5. change in exposure to get the outer corona, then back and forth to the dark ring
6. final shot of chromosphere on right side with prominences
7. right sided diamond ring with more blooms
8. filter back on for right side crescent 30 seconds after totality ends

be sure to adjust the quality to high (gear lower right) and increase the image size (lower right)


IMAGING TECHNIQUES 2:
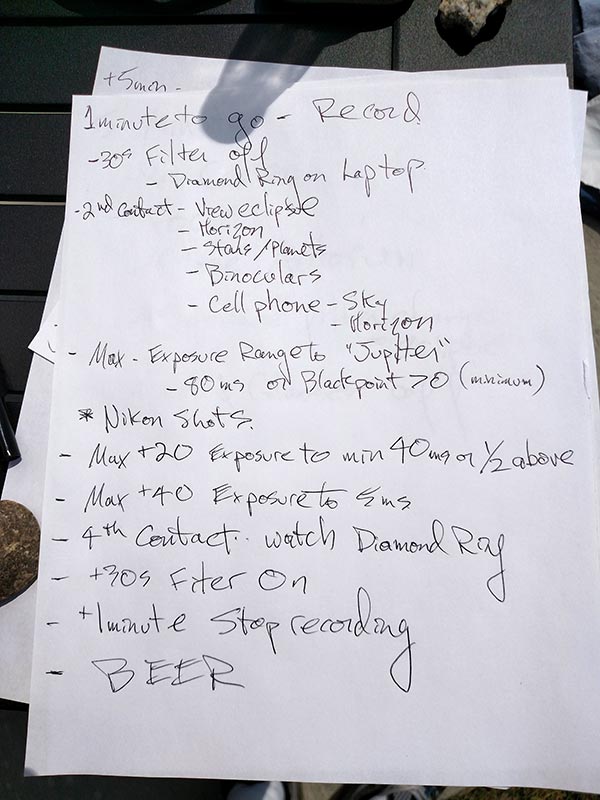
in addition to 2 full dry runs, i ran at least 10 practice sessions of 2 minutes and 20 seconds of totality with a carefully scripted list of what i was going to do during totality, including an observation plan.  i rehearsed all the steps including pretending to look at the eclipsed sun with binoculars etc.  worked out minor issues (taking off all hats and lens caps before totality), to complex issues (a software glitch that would have ruined the capture--can't change exposure in firecapture with the autocapture window open).  i even practiced an imaging fail, giving myself 60 seconds to sort out a software issue, then forgetting about it and proceeding with my viewing plan.  An app called Solar Eclipse Timer was very helpful for the practice runs and imaging session.  

i elected to watch the first diamond ring phase on my computer monitor (so i didn't blow out my vision), quickly adjust the exposure at the start of totality, then watch the first half of totality.  at max eclipse (halfway though totality), i went back to imaging with a tightly scheduled plan, then viewed the final diamond ring.

i wound up with 4 pages of hand written notes.  here's the page for totality, choreographing the event.
note the shadow reflecting completion of the list
Max is the halfway point

Here's the full video in real time with minimal editing (calibrated and removed shaking frames during filter transition) if anyone's interested.


calibration was a problem, i finally figured out that PIPP (software program) only allows you to calibrate video with another video, rather than a single frame.  fortunately, i'd saved my calibration video runs.

CONCLUSIONS/IMPROVEMENTS:
-video imaging seemed to give a sharper image than a still shot, as any plantery or solar imager will tell you.
-did not detect any motion in the fine structure of the corona at this image scale thru clouds
-disadvantages of video: lower dynamic range, consider moderately slow change of exposure length during imaging to compensate for this (or greater dynamic range)
-CCD chip bloomed on diamond ring phase, CMOS preferable
-the larger DSLR field of view seemed optimal for the corona:
4.5 decrees by 3 degrees or 4.180 arcsec/px
-focused my DSLR on clouds rather than on sun with solar filter which did not work.  should pre-focus with a dedicated solar filter rather than clouds.


Image details:
DMK 51 web cam, Takahashi FS-60C, 60 mm aperture at f/4.2 with a reducer.  Skywatcher star adventurer tracking mount.  Baader solar film, Fotga IR/UV cut filter.  The full field of view is approximately 96x72 arc minutes with a resolution of 3.6"/px.  20 second video capture at 12 fps, aligned in autostakkert, wavelets in registax.
Casper Wyoming
42,50.9694N 106,15.5688W
8/21/2017